Prerequisits for contributing and editing these pages

Required Software
Python 2.7.3
pip 1.2.1
To build this documentation you will also need the following python packages:
pip install sphinx==1.5.5

pip install sphinx_rtd_theme==0.2.5b1

pip install sphinxmark==0.1.19
Git repository
See the Git Documentation Index for detailed instructions on using Git with STEPlib.
Clone the gitlab project
git@git2.boost-lab.net:documentation/STEPlib_User_Guide
Make your own working branch, e.g. branchYourName
Clone the repository
Editing content
This documentation contains rules specific to these pages and a brief introduction to editing pages or use the Sphinx reStructuredText Primer for a more in-depth introduction to reStructuredText and Sphinx Markup Constructs for a full list of markup added by Sphinx.
Build this documentation
You should now be able to create the build for this documentation.
Open a command window (cmd) in the documentation root folder. (The below shows the content of the cmd window)
Microsoft Windows [Version 6.1.7601]
Copyright (c) 2009 Microsoft Corporation.  All rights reserved.

C:\Users\Public\Documentation\STEPlib_User_Guide>
(Optional) If using a virtual python environment, activiate it using the full path to the activate script (The below shows the content of the cmd window from step 1)
Microsoft Windows [Version 6.1.7601]
Copyright (c) 2009 Microsoft Corporation.  All rights reserved.

C:\Users\Public\Documentation\STEPlib_User_Guide>C:\Users\Public\Documents\PythonVirtualEnv\pyvenv\Scripts\activate
(pyvenv)
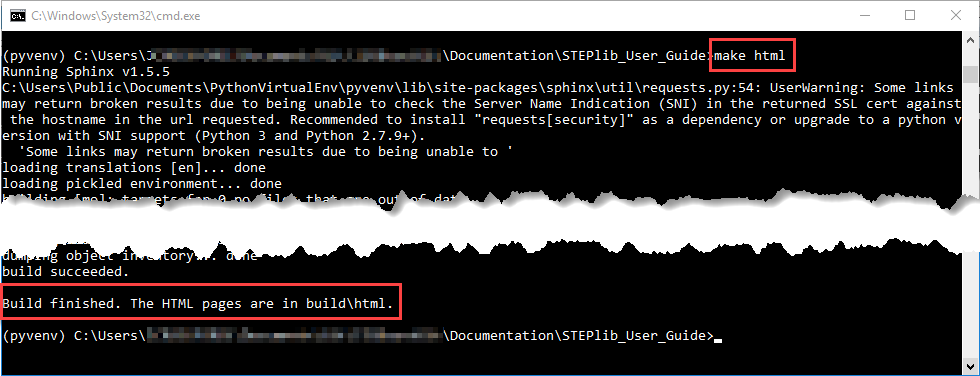
type make html (The below shows the content of the cmd window from step 1)
Microsoft Windows [Version 6.1.7601]
Copyright (c) 2009 Microsoft Corporation.  All rights reserved.

C:\Users\Public\Documentation\STEPlib_User_Guide>C:\Users\Public\Documents\PythonVirtualEnv\pyvenv\Scripts\activate
(pyvenv) C:\Users\Public\Documentation\STEPlib_User_Guide>make html
You should now be able to open the STEPlib_User_Guide\build\index.html in browser.
Publish the documentation
- commit your changes to your branch
- your branch must be merged into the release branch, the content approved and then merged into the master branch.
- the master branch is periodically published to this site.
Section author: Judith Crockford (AP243)